Trending

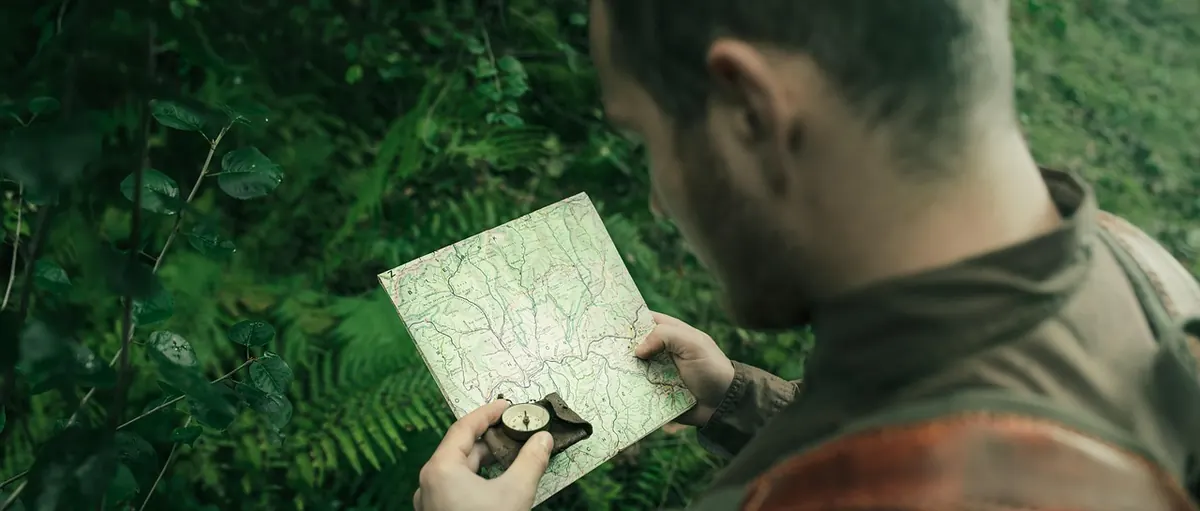
You can walk all day in the hills and never look at a map. Plenty of people do. The trouble is that the day you need one — cloud comes down, the path vanishes, the light starts going — is the worst possible day to be learning from scratch. Half an hour at the kitchen table with a map and a compass buys you a lot of calm later on. Here's the groundwork.
Every map squeezes a landscape onto paper at a fixed ratio. An Ordnance Survey Explorer map is 1:25,000, which means one centimetre on paper covers 250 metres on the ground, so a kilometre of walking is four centimetres wide. Landranger maps are 1:50,000 — half the scale, more ground per sheet, less detail. For hillwalking in Britain, 1:25,000 is generally the more useful of the two.
The blue grid lines are one kilometre apart. They give you the six-figure grid reference: eastings first, then northings. Along the corridor, then up the stairs. That pins a spot to within about 100 metres, which is accurate enough to find a path junction in mist.
Then the symbols. Paths appear as solid lines, dashes or dots, and the difference matters: a solid line is usually a made track, while dots may be a faint trod you'll struggle to follow. Walls, crags, streams and boggy ground each have their own convention. Read the map key once, properly. It's dull for ten minutes and useful for years.
Worth remembering too that a map is a snapshot, not a live feed. A new forestry block, a footpath diverted round a landslip, a footbridge that went out in the last storm — none of that is on the paper in your hand. When the ground and the map disagree, believe the ground, then work out where you must be by matching something unmistakable — a stream junction, a wall corner, a lochan — to what is drawn.
Each contour joins points of the same height above sea level, and on most British hill maps they're drawn every 10 metres. Where lines crowd together, the ground is steep. Where they sit far apart, it's gentle or flat. Six lines between two points means roughly 60 metres of climbing.
Shape matters as much as spacing. Where a stream cuts into a hillside, the contours form a V pointing uphill — that's a re-entrant. Over a spur or ridge shoulder, the V points downhill. Learn those two and you can picture the ground before you get there: which way the water runs, where it's likely to be boggy, where the slope eases enough to stop for lunch.
Spot heights are the small numbers printed at summits and junctions. A ring drawn around one tells you it's the top of something.
Here's an exercise worth doing: take a hill you already know well, find it on the map, and trace the contours up its flank. You'll spot the steep pull near the top and the flatter shoulder below it, the crag you remember scrambling past, the little bowl where the ground is always wet. Once you can do that for three or four familiar hills, contours stop looking like spaghetti and start looking like terrain.
Before bearings, before anything: set the map. Turn it so the paper matches what's in front of you. If a ridge runs left-to-right across your view, it should run left-to-right across the map.
The quick way is with your eyes. Pick two features you can identify — a distinctive summit, a bend in a wall, a tarn — and rotate the map until they line up correctly relative to each other.
The compass way: lay the compass on the map, align its edge with a north-south grid line, then turn the map and compass together until the red end of the needle sits inside the orienting arrow on the compass base.
Setting the map sounds minor. It's the single habit that prevents most confusion. Do it every time you stop to look, and the map stops being a puzzle and starts being a view.
A bearing is simply a direction expressed in degrees, measured clockwise from north. To take one from the map:
Good navigation isn't about never being unsure. It's about noticing, early, the moment you stop knowing where you are.
A bearing tells you which way. You also need to know how far, and in poor visibility "how far" is the bit people get wrong.
The simplest tool is pacing. Count every time your left foot lands — that's a double pace. Most adults manage roughly 60 to 70 double paces per 100 metres on flat ground, and noticeably more uphill or through heather. Measure your own pace on a flat stretch of road or track, then use it when you need to walk a set distance on a bearing: 400 metres over a featureless plateau is around 250 double paces. It sounds fiddly. It's the difference between hitting a path junction and walking past it.
For longer legs, use timing. A reasonable rule of thumb is 5 kilometres per hour on the flat, plus one minute for every 10 metres of ascent — so 4 kilometres with 300 metres of climbing works out at about 48 minutes plus 30 minutes, or roughly an hour and a quarter, before you add time for bog, gates, photographs and second breakfast. Adjust the base figure for your own fitness and pack weight. The point isn't accuracy; it's having a number to compare against reality, so "this is taking much longer than it should" becomes a warning rather than a shrug.
If nothing quite adds up — the path has faded, the ground doesn't match, you've lost the thread — stop walking and run this sequence:
Finally, practise where getting it wrong costs nothing. Take a map on a walk you know inside out and navigate it properly anyway. Take a bearing across a moorland path in clear weather and see whether you land where you expected. The skills are simple, and they're only simple when you've done them a few dozen times in easy conditions — which is exactly what the hills sometimes refuse to give you.
Photo: jonassanislo / Pixabay